
Warning. If you don't want to to spend more money on gear, do not read this post!
All of these portraits of my kids are straight out of the camera. I have not adjusted contrast or sharpness. This is what you get from an X-T1 and the 50-140mm f2.8. I will do a follow up post to show how great the shallow depth of field looks, but I wanted to get a review out as quick as possible and it's been a dark grey weekend. This won't be a technical review. You can find plenty of specs on the web if you need them. Specs are fine, but if they're not engineered properly, they don't mean a thing!
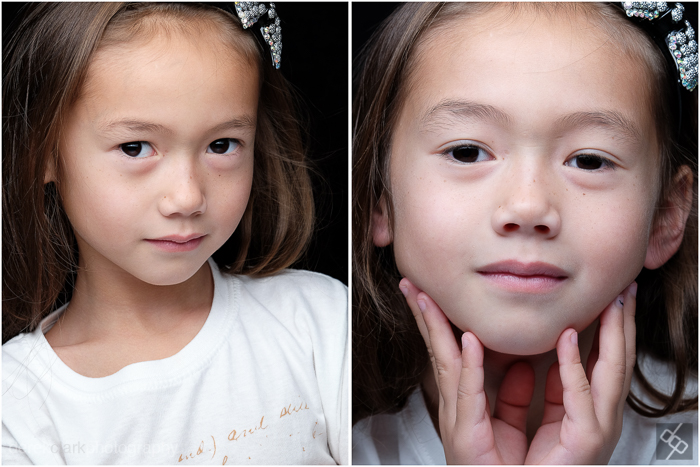
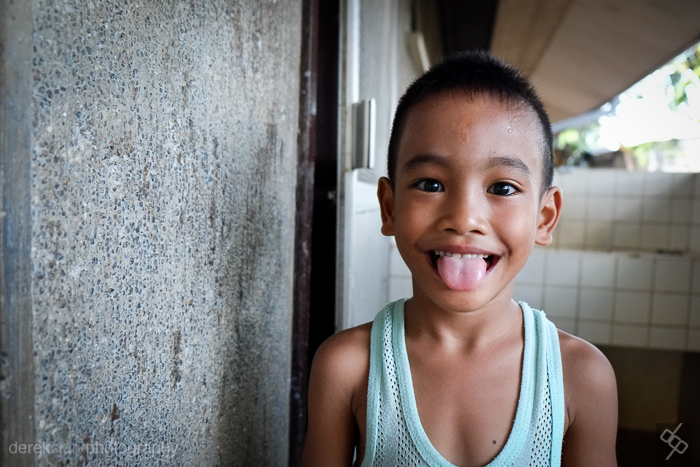
It seems nobody told this lens that it's not supposed to be as sharp as a prime. Come to think of it, nobody told Fuji that you can't make a zoom that performs like a prime lens either. But I'm glad, because they have pulled it off. Click on any of the portrait shots to see a full size version on Flickr.
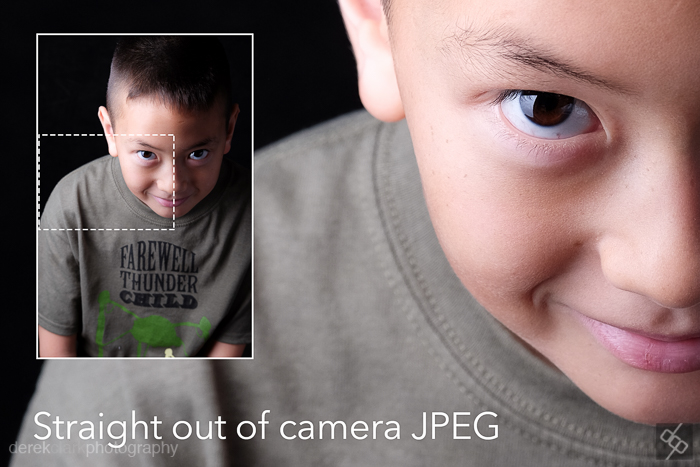
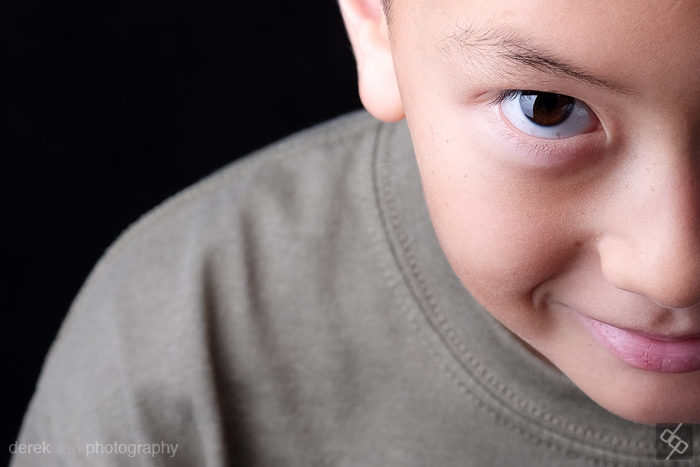 Ok, so the shot above is sharp, very sharp. But look below and you will see that this is just a small crop of the original photo. Not only that, but as I said above, this is SOOC. These portraits of my kids were shot with the Fuji X-T1 and the new 50-140mm f2.8. With a full frame equivalent of 75-210mm, this is Fuji's answer to the classic professional workhorse 70-200mm f2.8. Now I own a 70-200mm Nikon and it's a fantastic lens (as is the Canon version). It's the reason I've held on to my Nikon D800, because I need that 200mm reach for my jazz photography. Fuji's other long zooms are too slow for what I need and my longest prime is the awesome 56mm f1.2. I'm looking forward to my next jazz shoot with an all Fuji setup!
So this shot of my son wearing his first tour t-shirt from our first father and son gig on Saturday (War Of The Worlds) is enough to show the amazing quality that the X-Trans sensor and the 50-140mm can produce. These portraits were lit using a Lastolite Hotrod Stripbox with a Nikon SB700 inside. I also used a Lastolite Trigrip 8 in 1 reflector to get clamshell style lighting. The Flash was triggered by the Flashwave III Radio Triggers. More information on using Flash with Fuji can be found in my 3 part post starting HERE.
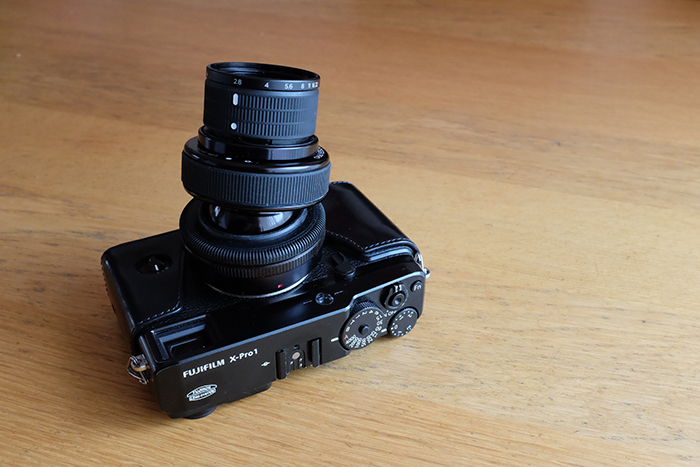
The first thing you notice when you see this lens in person is the size of it. Although not as large as the Nikon or Canon version, it is however, a 70-200mm f2.8 (FF), and that means bulk. Compared to other X-Series lenses, this one is big and it's heavy. Not in a DSLR sense, but for mirrorless. But this is not a lens that you take with you every day. No this is the big gun that goes to a paid job and does the business. It's a wedding or portrait photographers must have piece of glass and it will be the lens that allow a large number of DSLR shooters to jump ship to Fuji mirrorless. There will be some that need an equivalent to a 24-70mm f2.8 before that jump, but don't worry because there's a 16-55mm f2.8 coming early 2015.

So here is how the lens looks on three Different bodies. On the left is the X-T1, which with the battery grip, will be my preferred camera with this big lens. In the middle we have the X-Pro1 and on the right is the smallest of the three, the X-E1. As you will notice from this Triptych, Fuji have put some thought into this and included a removable square (see centre image) on the lens hood. This is to give access to a polarising filter so that it can be turned. I would recommend using the hood with the hole at the bottom to keep out sunlight.
I'm really pleased that Fuji has went with an aperture ring that has the f stops marked on it and has a dead stop at either side, rather than the un-marked continuous ones found on the other zooms. The zoom ring is nice and stiff and very grippy. And on the subject of zooming, as this is a professional lens, all zooming movement is internal, so there are no unwanted protrusions at the front end.
A metal tripod mount Is included and attached, which is essential if you shoot landscapes etc. The lens is heavy and it doesn't matter which of the X bodies you use it on, there would be too much strain on the cameras lens mount if attached to a tripod via the bottom of the camera. As I only use a tripod now and again, I prefer to remove the tripod mount until required. This is easily achieved by removing two screws (they stay attached to the mount, so no chance of loosing them). I found the best way to reattach the tripod mount is to hold it in place with a thumb and turn both screws simultaneously. When I tried to do them one at a time, the second one was always a bit reluctant to go in. The tripod mount is attached to a ring on the lens that allows the camera to rotate for upright portraits. This locks into position by a single thumbscrew. A small wish for the tripod mount would have been a quick release system similar to the Nikon 70-200mm rather than the two screws....but it's no big deal!
I often use a BlackRapid Yeti double strap and I really wish Fuji had included a threaded hole for a tripod on the base of the lens as well as the tripod mount (other 70-200mm's have this). I would feel better about hanging my camera upside down from a BlackRapid FastenR with the rubber bush, than the two thumb screws holding the tripod bracket to the lens. It may be absolutely safe, but I'll be keeping an eye on it for the first few shoots.
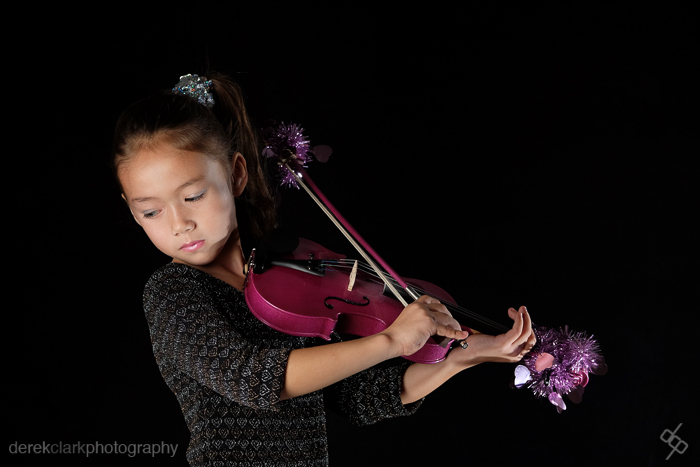
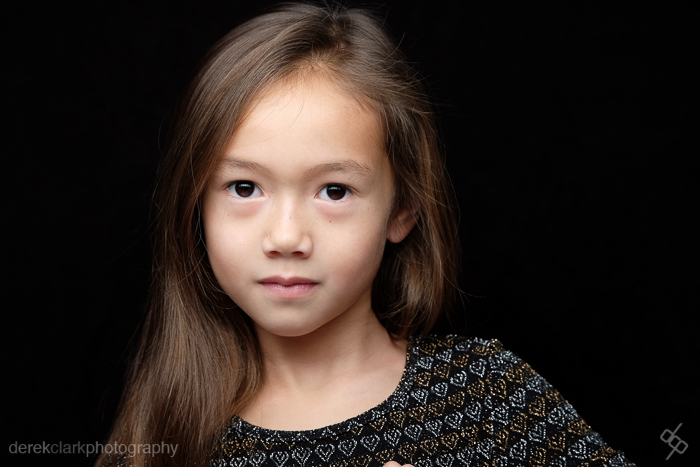
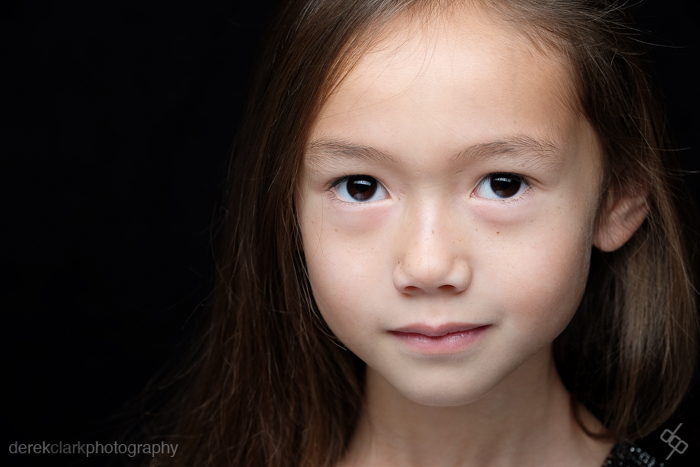
My seven year old daughter played her first two gigs at the weekend. So the real reason for taking some studio pictures was really to mark the occasion. It was just good timing that Fuji released this lens at the same time. Ho did they know?
The focusing ring is well suited to portraits as you can make really fine adjustments without overshooting the distance. This is due to the focusing ring having a longer travel, something welcome on this lens, but not so much on a shorter focal length prime.
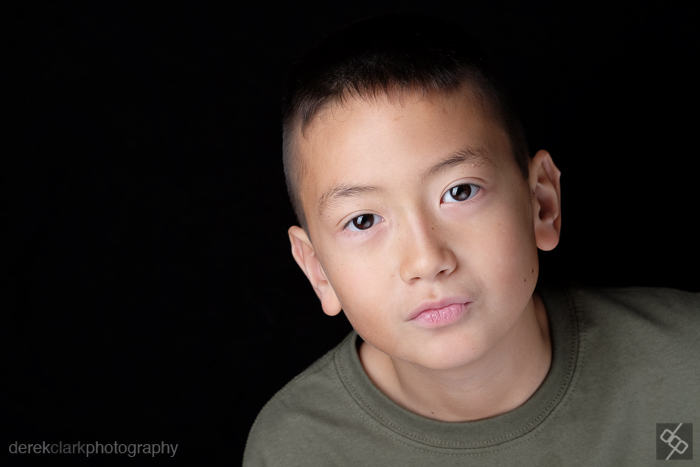
My time to shoot pictures of my son is limited, as he doesn't stop moving long enough. So I told him I would shoot 15 frames and he was done. This was the last shot and in response to me asking him to give me the James Bond look. As you can see from the catch lights in his eyes, the strip box is above and the reflector below.
 So in conclusion: The Fujifilm 50-140mm is just outstanding! We've waited a while, but the wait was well worth it. I keep thinking that Fuji has peeked with the quality of their lenses, but as soon as I do, they bring out something that just blows me away! Sure it's a big lens on such small cameras, but it is smaller than the equivalent Nikon or Canon (see comparison pic to the left). Apart from wishing for a quick release on the tripod mount and a threaded hole to allow direct tripod/BlackRapid mounting, the only other thing I would have wished for would be a soft or hard case to have been included, rather than the usual cloth bag.
But those are in no way deal breakers. The XF 50-140mm f2.8 R LM OIS WR (to give it it's full title) is value for money when you consider the quality and comparison to the price of the big two's 70-200mm f2.8 glass. If Fuji can pull off the same feat with the upcoming 16-55mm f2.8, they will have arguably two of the best zooms for the working professional. It's amazing to think how little time has passed since the launch of the first interchangeable lens X camera. But in such a short time Fuji has produced an unbelievable system. Let's hope they're working on a great wireless flash system to go with it.
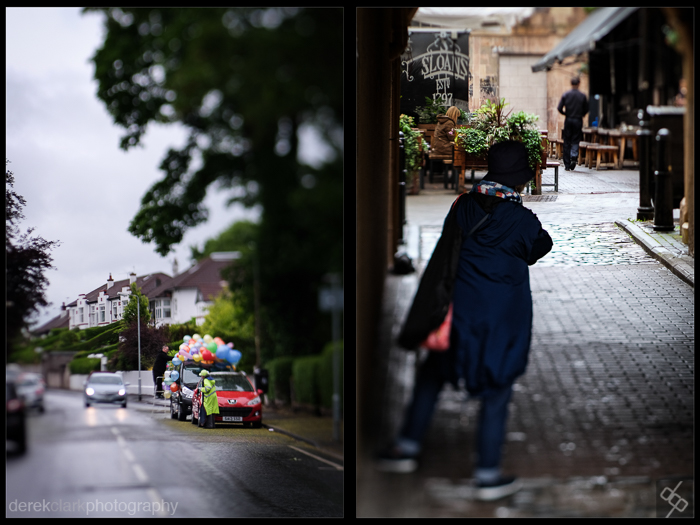
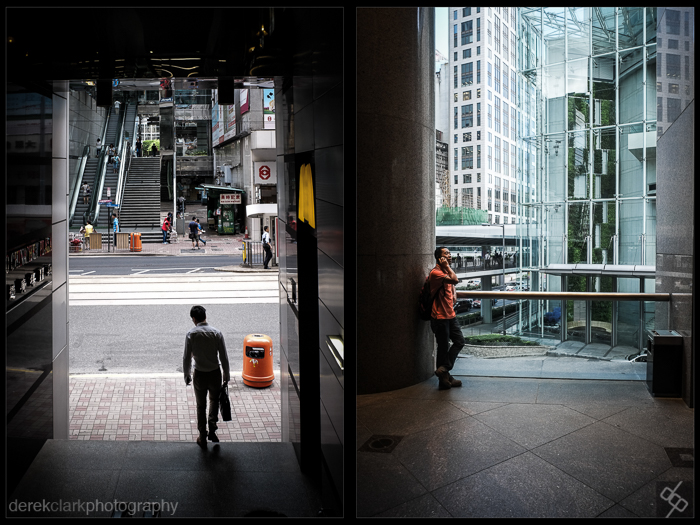
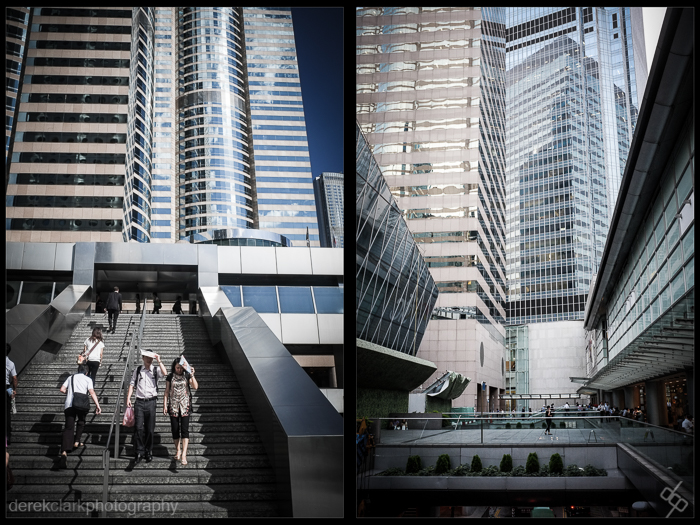
Click these links to see what the 50-140mm looks like in daylight and with shallow depth of field.
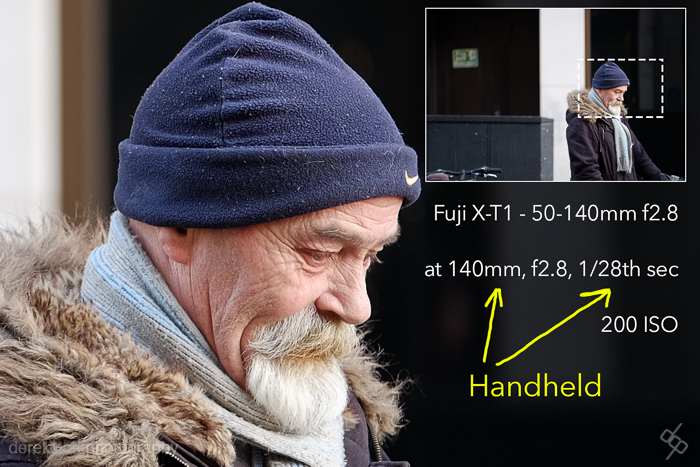
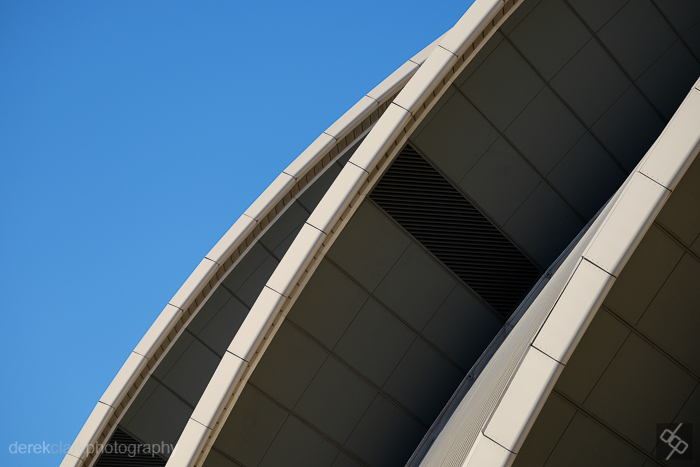
Out & About With The Fuji 50-140mm f2.8
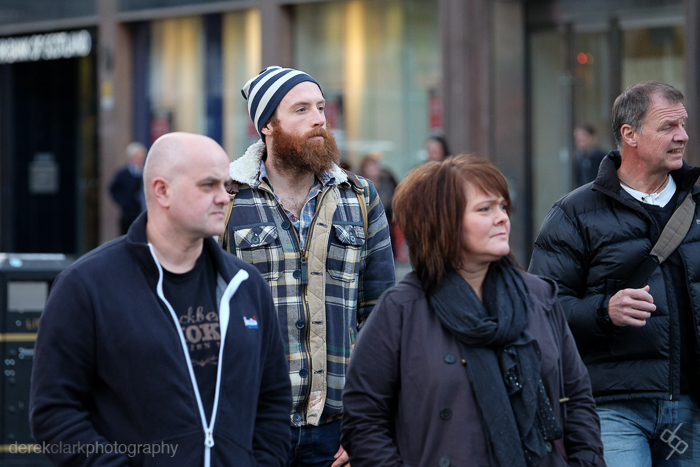
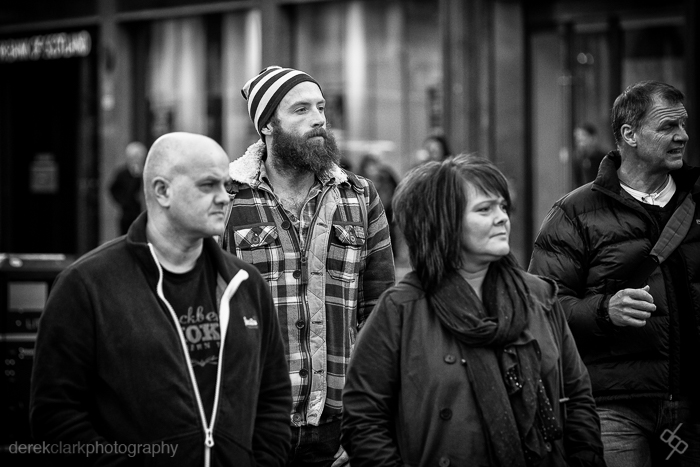
And Now For Something Completely Different :: Street Photography With The Fuji 50-140mm f2.8


