
BLOG
Just Another Fine Art Monday...

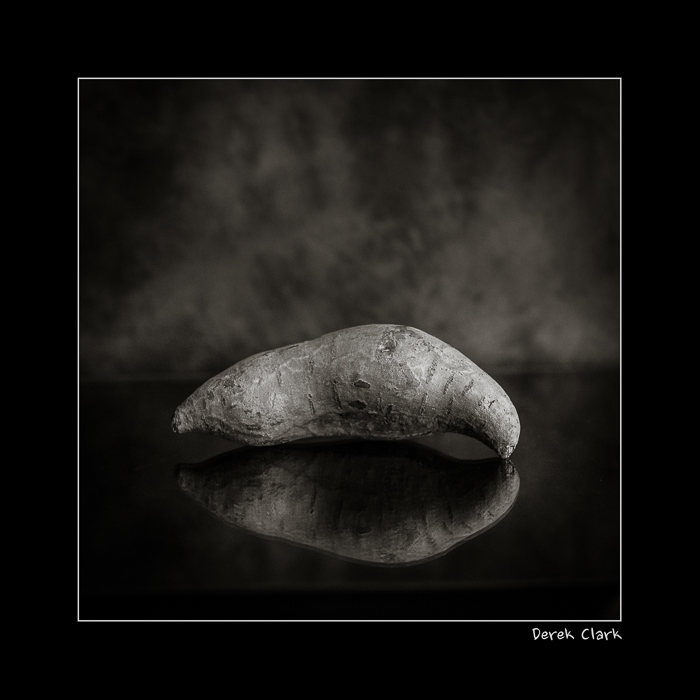
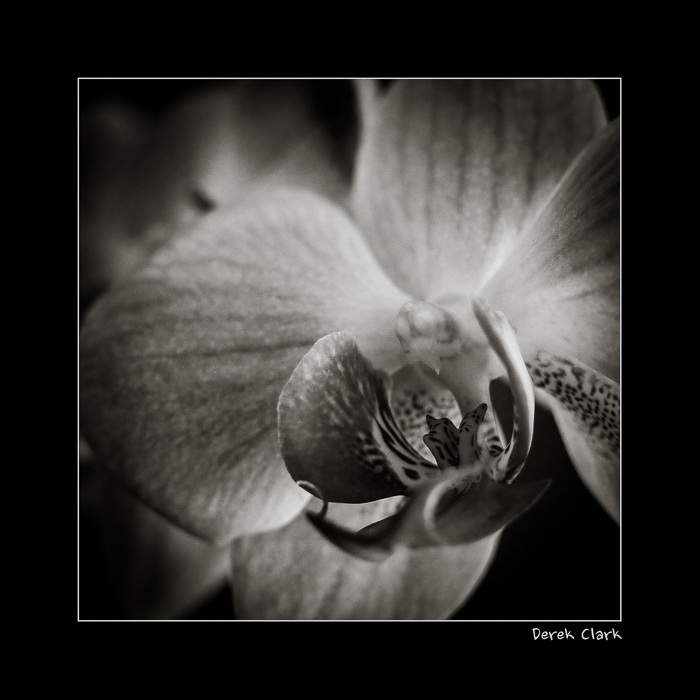
Just another Fine Art Monday I shot it on Sunday 'Cause that's my fun day Just another Fine Art Monday
Take a pineapple, a sweet potato, a branch, a rose and a flower (no idea what it's called). Add one Fuji X-T1, a 56mm f1.2 and two sprinkles of MCEX-11 Macro Tube (pic 2 & 5). That's it. Window light with a Lastolite background.

Fujifilm Macro Tubes MCEX-11 & MCEX-16
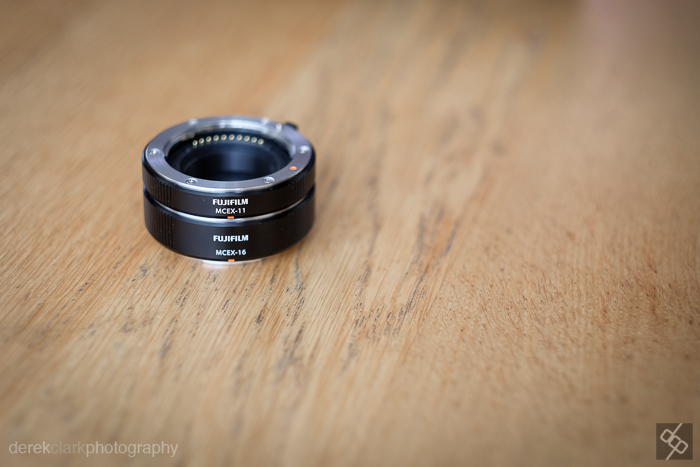 I just got hold of Fuji's MCEX-11 (11mm) and MCEX-16 (16mm) Macro Extension Tubes and I wanted to do a quick comparison. Fuji has a table on line with all the information in numbers form about focus distance etc, but photographers are visual beasts. So as I couldn't find much in picture form on line, I thought I would show some examples of what you get from each of them. I have included one with just the lens, one with the 11mm, one with the 16mm and one with both tubes stacked together. All shots were taken with the camera as close to the subject as possible. I basically focused each lens to minimum distance and then moved the camera in until it achieved focus. I have kept the subject the same throughout (my X100S) so that you can get a good idea of what the difference is from lens to lens with each tube. All of these JPGS were shot square in camera (yes, your X camera shoots in square and 16:9 too:o). Please note, the wider lenses (14mm, 18mm & 23mm) worked with the MCEX-11, but the lens touched the X100 before focusing was achieved with the 16mm or both stacked. The 35mm lens went in so close with both tubes attached, that I had to remove the X100S lens hood.
These tubes are more than double the price of the equivalent on Amazon or Ebay, but as this is a one off purchase and because I've read a lot of comments on line about the electrical contacts not working on third party ones, I though it was worth going for the original Fuji tubes. Besides, I sold my 60mm Macro lens when I heard these were coming out as they're smaller and easily stuff in the corner of a camera bag. Built quality is extremely high and the fit is tight (but not too tight). My one gripe is that neither of the tubes come with a case or a bag and as these go between lens and camera, dust is not welcome. I'm storing them in the little cloth bag that came with the X100 lens hood at the moment. I've used the 56mm f1.2, the 35mm f1.4 and the 50-140mm f2.8 for examples here. I think owners of the 56mm will get the most use out of these, as that lens has a poor minimum focus distance. Sop here are the results.
I wanted to confirm that the photos from the 50-140mm f2.8 lens are correct. I had to check the metadata to make sure these were in the right order. I even re-shot them just to be 100% sure. I hope this post has been useful. Use the comments section if you have any questions about these tubes, or if you would like to see a ring shoot ...etc.
The Digital Contact Sheet :: Episode 6

I recently uploaded a video to YouTube featuring a selection of my street photography during the 2014 Commonwealth Games in Glasgow (Scotland). It's kind of a video contact sheet in a way, as there are a few shots in there that are obviously short sequences. There is one picture in the video that seems to stand out for some people and as I remembered it was a lengthy sequence, I thought it would make a great Digital Contact Sheet. Feel free to check out the video mentioned above by clicking HERE. Click on the images below for a 1500px wide version.

I came across this guy feeding pigeons at George Square during the 2014 Commonwealth Games. I shot a few frames leading up to what you see above using the 10-24mm lens that Fuji had sent me to try out, but it was a bit wide so I switched to the 56mm f1.2. As you will see from the contact sheet, I started off at the subjects right hand side, but the background was messy and I moved from a low POV to standing. I still wasn't getting what I was looking for and I knew there was a good shoot here. I don't often spend as much time on a single scene when shooting street photography, but I felt it was worth sticking with and besides, neither the subject or the pigeons were bothered by me being there. I was using the Fuji X-T1. The X100S would typically be my weapon of choice, but I was testing lenses for Fuji too.

I moved around the scene in a clockwise direction, taking more shots than I normally would have, but the birds were changing constantly and I knew it would be a tiny move either way that could make the shot. I started off at f4, but as I moved to the subjects left side, I switched to f1.2 to blur the background and loose the distractions. Sometimes you can see all the elements of a photo and you just need to wait or keep shooting until those elements come together to make that single frame that works in all the right ways. Sometimes you wait and the scene falls apart and you get nothing.
 The image above is the straight out of camera JPEG. These last couple of years I've started to wear glasses, but I look over the top of them when looking through the viewfinder, tipping my head forward to try to get in as close as possible. This is not the best way to get level horizons, so as you can see from above and the final image below, I had to straighten the picture in post. But the point of showing the SOOC version is to let you see how nice the Fuji JPEG's are. The X-Series are the first digital cameras that I feel could have useable files without the need for computer work. If fact, adding Contrast and Clarity in Lightroom is all you might need for a great shot.
 This is the finished shot (above). 1/4000th of a second at f1.2 & ISO 200. After straightening the horizon as much as I could without chopping off part of the guys feet and hat, I sent it out the Nik's Silver Efex Pro 2 to get converted to B&W. This is my own preset for street photography, but it's mostly just a good mixture of Contrast and Structure. As long as my picture is exposed properly, it's a one click process in SEP2 and then save back in to Lightroom ready for export. As you saw from the contact sheet, there were many usable shots (maybe as many as 15), but on this occasion I felt that there was a possibility of something better. I was waiting on a gesture from the subject or something interesting from the birds. As I pressed the shutter and the image was displayed in the EVF, I knew I had got what I hoped for. In that single gesture of the hand, I knew I had what to me looked almost biblical. That was the last frame I shot of the scene with the X-T1 and the 56mm. Although I shot six more with the X100S and the TCL-X100, I knew it was pointless as I had the one I was looking for.
P.S. I have a new story published on the Kage Collective site today called Fashion Consciousness