A Quick Custom White Balance Tip Using iPhone
You know that damn slogan that we're all sick of hearing? You know the one “The best camera is the one you have with you”. Quite often that camera is an iPhone, or at least that's the way the slogan started out. Well, I've put a new slant on that by saying “The best white balance card is the one you have with you”. Yup, just as annoying.
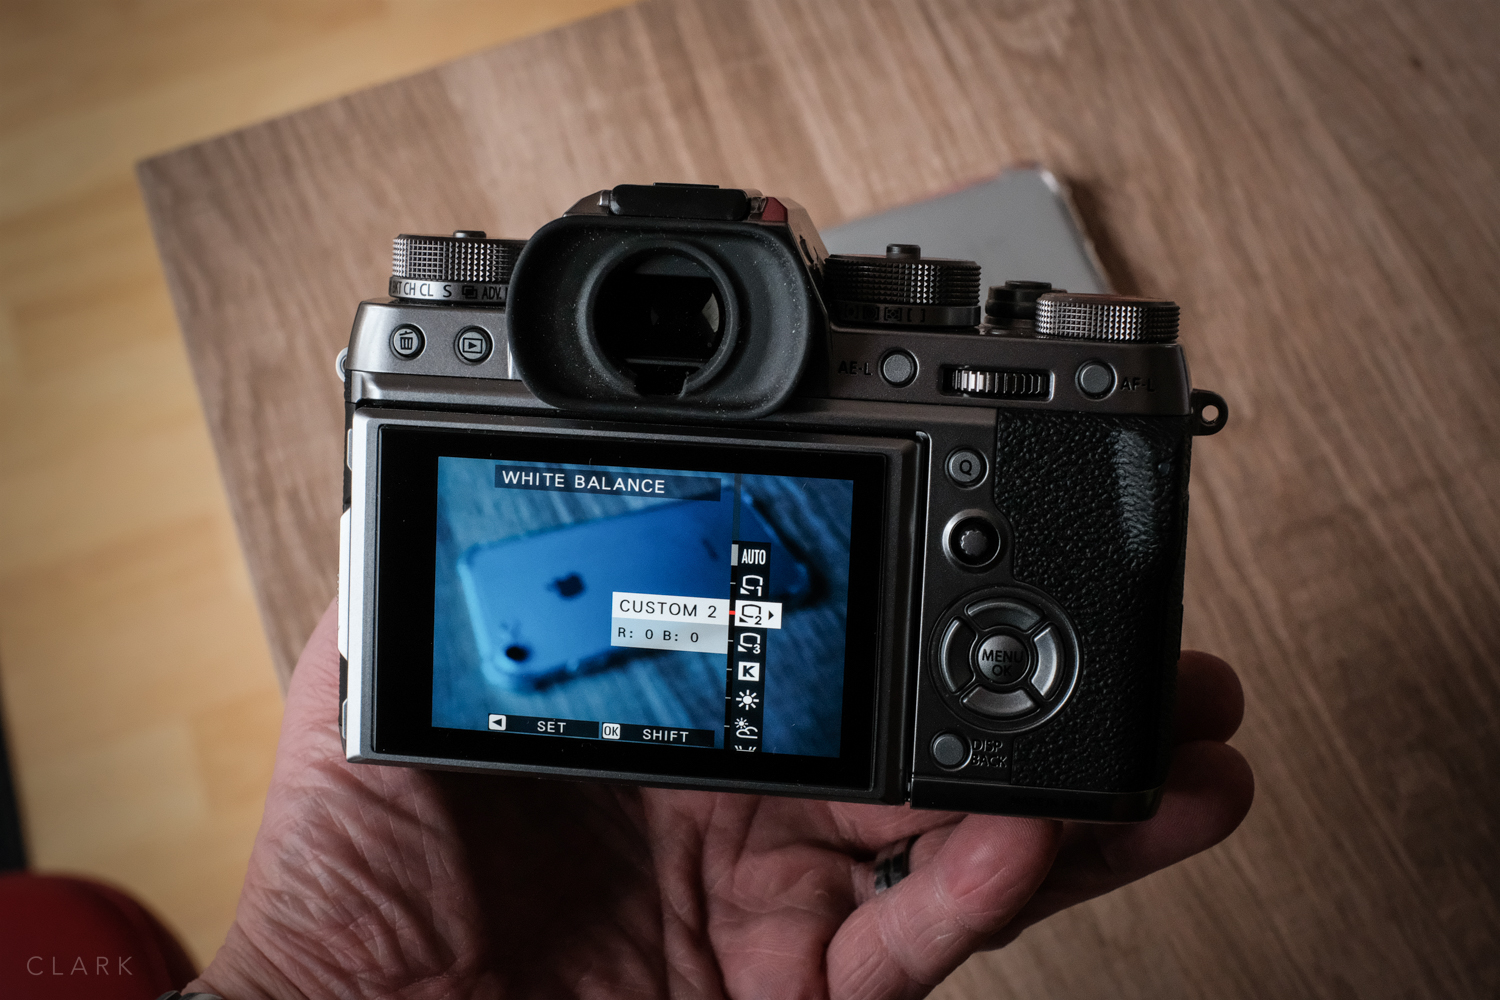
But if you happen to have a white iPhone (or possibly any phone with a silver back), then you have a white balance card that's always with you. I'm a big fan of ExpoDisc's or Colour Checker Passport and I use them often, but sometimes I'm out and about without one of those or they’re in my camera bag at the other side of a theatre and I'm at the front of the stage as a show is about to begin. That's when I pull out my iPhone and set a custom white balance from the back surface. I have a clear bumper case on my phone so that I don’t have to remove the phone to do this. I'm a Fuji shooter but although setting a custom white balance on your camera might be a little different, it won’t be that far away from what I do.
Here's what I do.
1. Go to Custom White balance (I have al my white balance settings on the right D-Pad on all my cameras.
2. Activate the custom white balance patch.
3. Take a shot of the back of my phone making sure my exposure is as near as possible and all of the white balance patch is filled with the silver grey of the phone. Make sure that the light you are trying to balance is hitting the back of the phone.
4. Press OK to accept the new custom white balance and then take a shot to see how it looks.
Now your white balance is locked in and this is the number one method to speed up your workflow. If you want to change white balance in Lightroom (or the editing program of your choice), all you need to do is select all photos and make sure Auto-Sync is on. Adjust white balance on a single photo and all the rest will have the same adjustment applied too.


